Please learn some basic Python. Please go through the videos to learn how to use a Raspberry Pi Pico W with the different components, before going through these videos on how to build a car. Also go through the documentation and the videos on how to use the L298N motor driver module with a Raspberry Pi Pico on the internet.
We are still working on the code. In the mean time you could use the code from the videos below.
You could also get off the shelf cars like the cheap freenove Raspberry Pi Pico car or the Sunfounders Raspbery Pi Car if you do not want to spend too much time assembling the car and just want to start coding
The code for the Freenove Raspberry Pi Car is here:
You could also go through these 10 tutorial videos
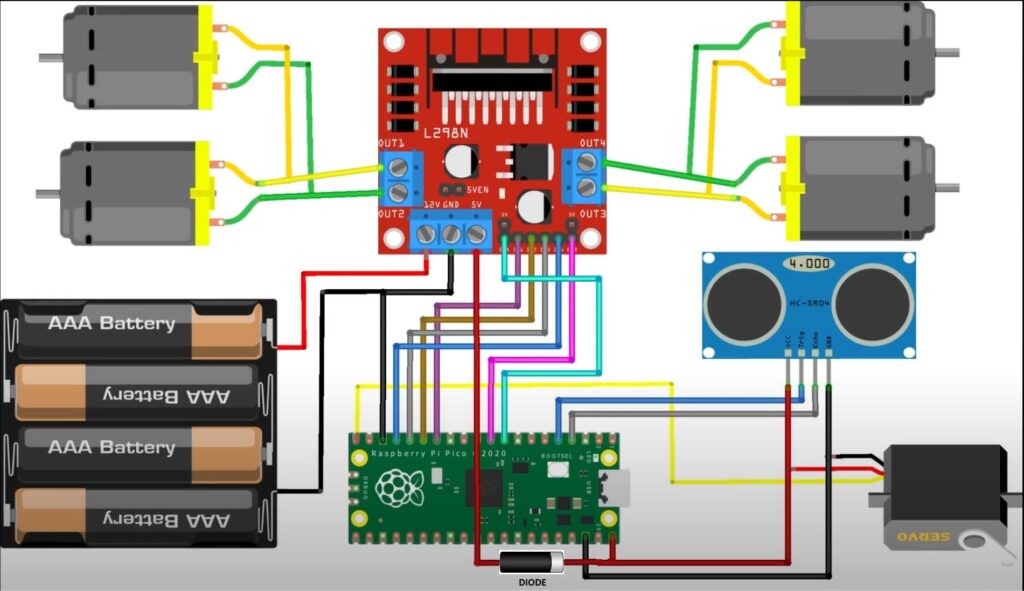
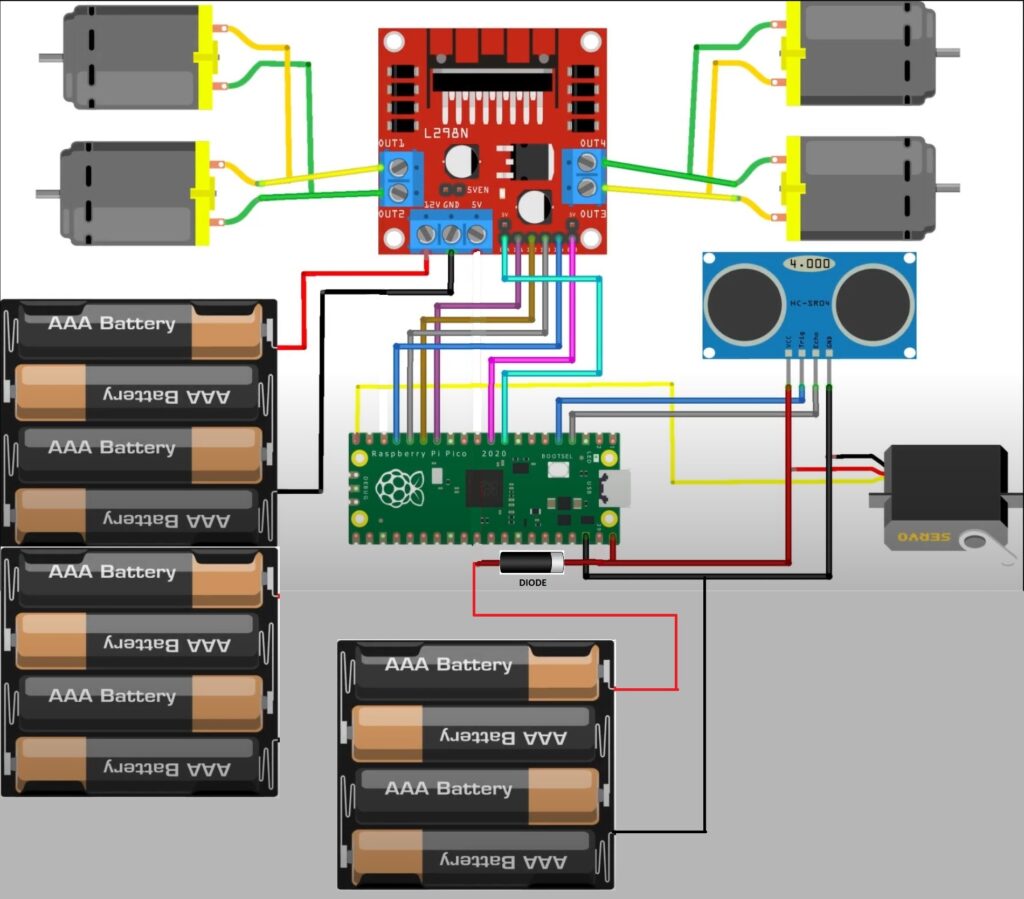
You could also use the code from the hash robotics to build an obstacle avoiding car but if you are using 4 motors and wheels use the wiring diagrams below
The wiring diagram for that is also different. If you use 4 motors and one L298N motor driver module then you combine the positive wires for the two motors on the right hand side and put them in one hole in the L298N and combine the wires for the negative motors on the right hand side and put them in the next hole of the L298N and do the same for the motors on the left on the other side of the L298N module. Please watch the video and go through the documentation.
Other cars
There are also many other car designs on the internet.
We have also developing our own car designs.
Here is some example code for the cars that we are developing:
https://github.com/gooficat/pico-car
We will soon put up the wiring diagrams for all the cars that we are working on.
Please use a diode if you want to power the Raspberry Pi Pico from the battery pack. The Raspberry Pi Pico requires a power supply capable of delivering a minimum of 1.8 volts and a maximum of 5.5V. If your battery pack delivers more than 5.5v then use a different battery pack for the motors via the L298N module and a different battery pack for the Raspberry Pi Pico that only delivers up to 5.5v or else you will burn the Raspberry Pi Pico. You could also pull 5v from the 5v output from the L298N module. Additionally make sure that you do not have the Raspberry Pi Pico powered by both the computer and the battery pack at the same time to avoid reverse polarity. That is why you need to use the diode.
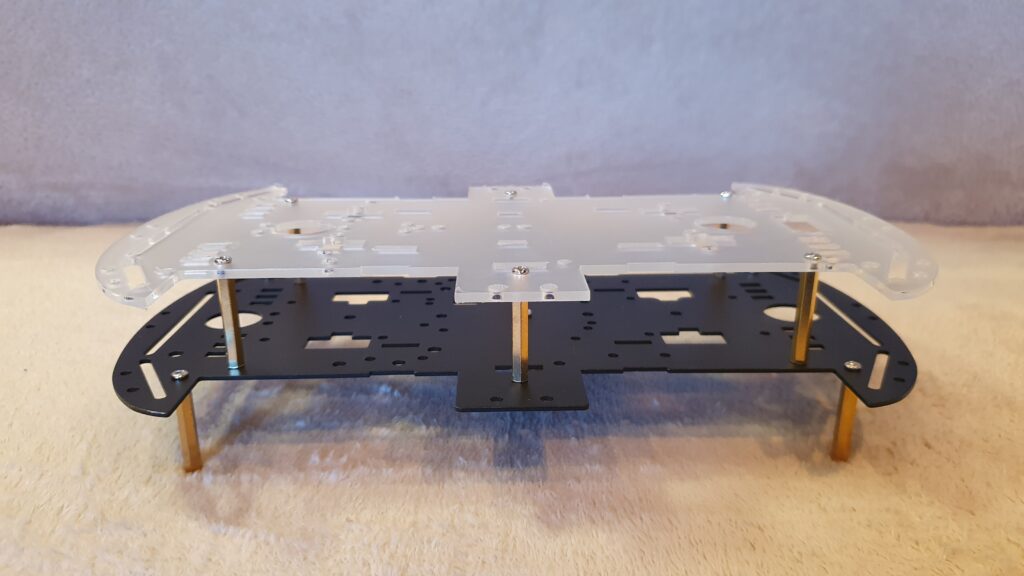
If you have this chassis then you could use the wiring diagram and the code from the different videos online to build different types of car. (If you later want to use a Nvidia Jetson Orin Nano or a Raspberry Pi 5 running AI software and ROS2 then you may need two or three floors later like this. But at first just build a simple pi pico car like below)
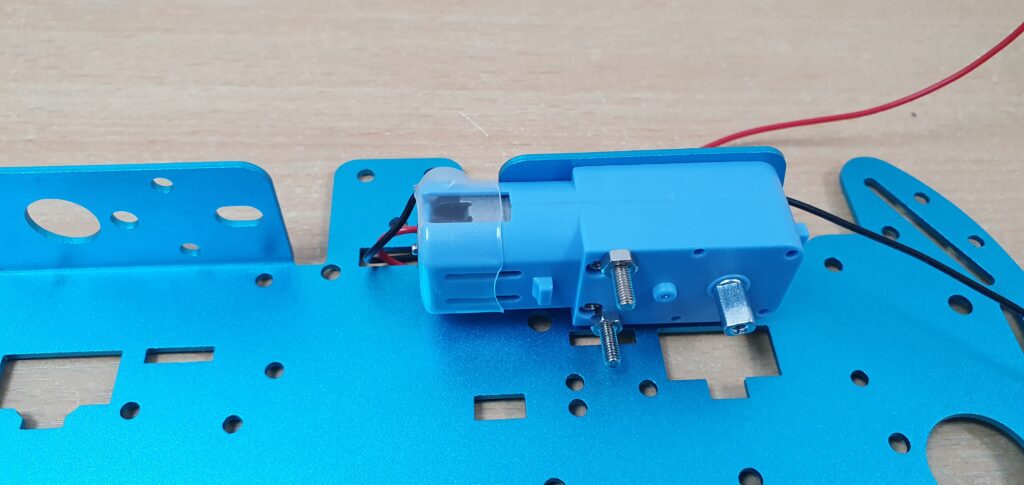
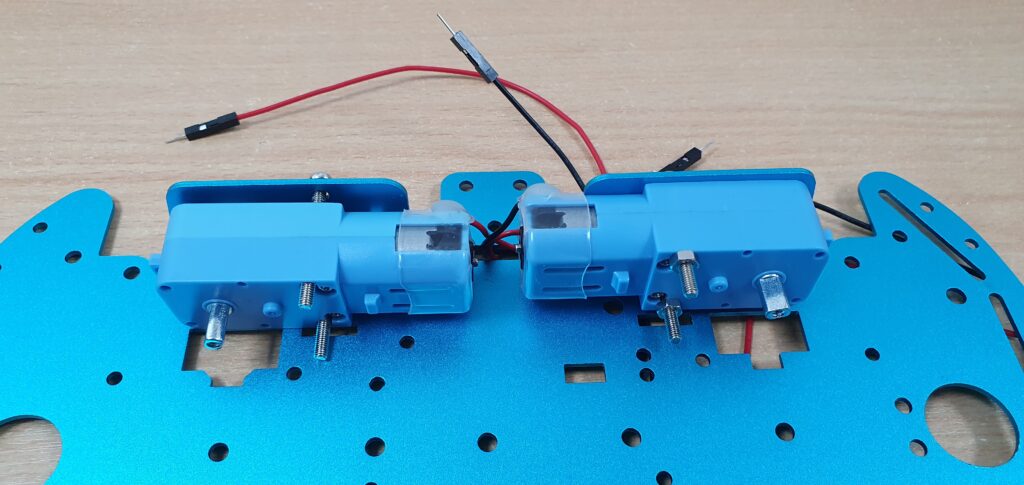
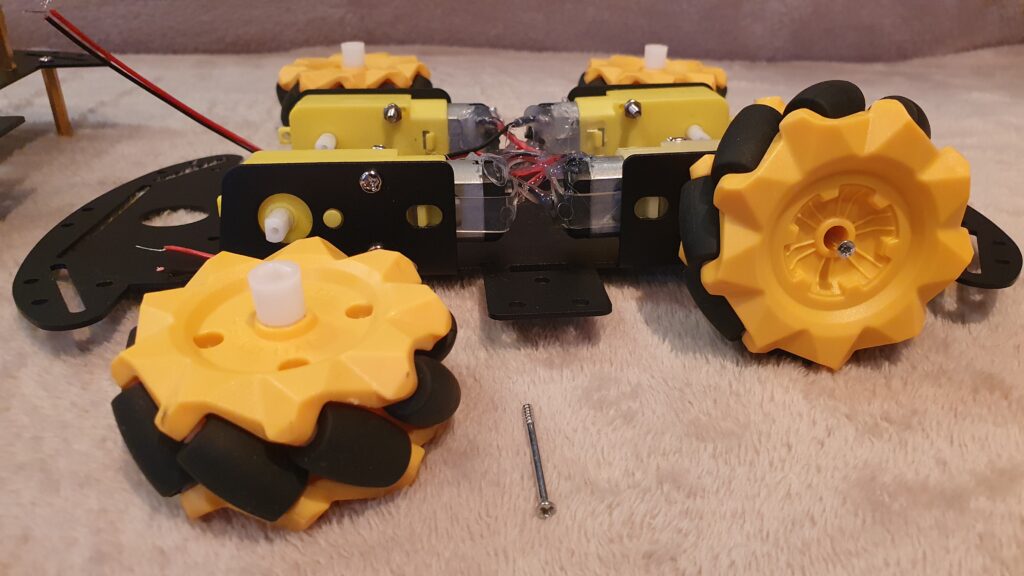
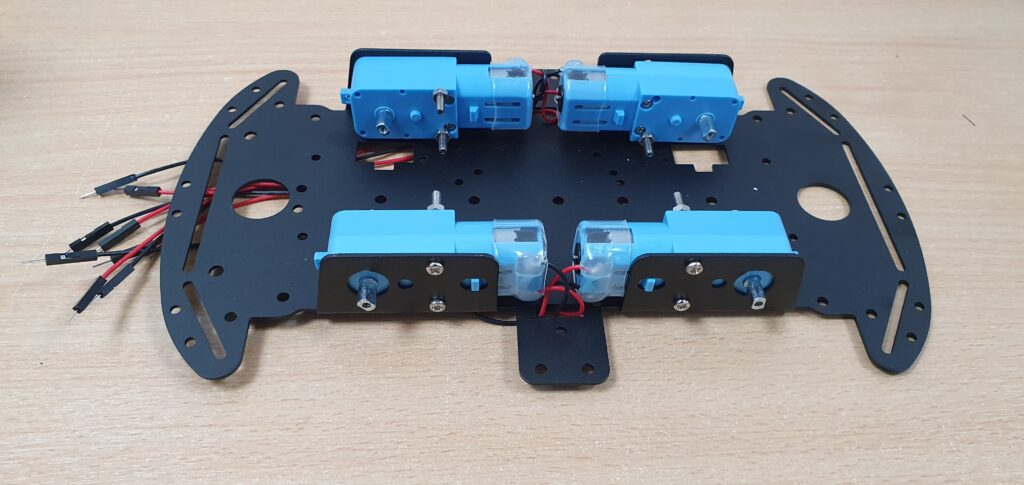
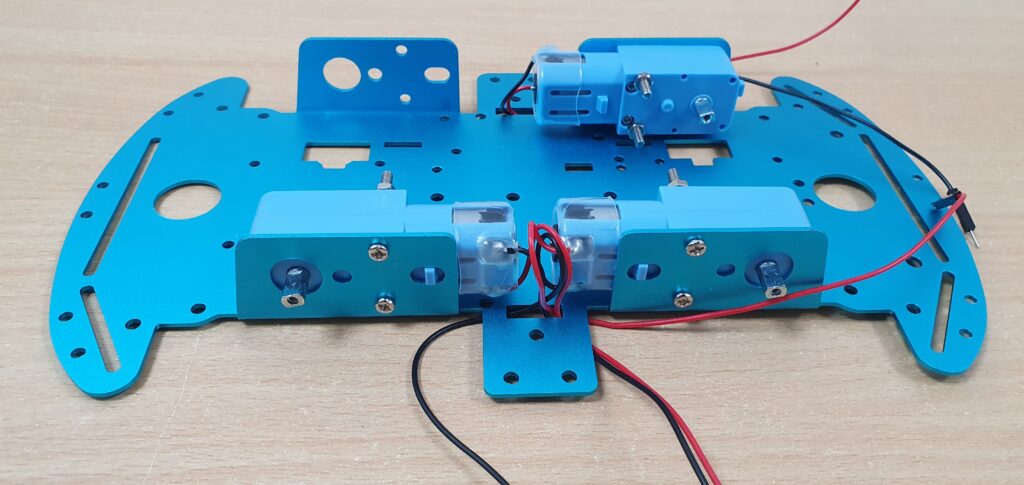
Attach the motors. Depending on which types of motors, you have you could attach them like the images shown below. Have the wires facing the outside so that they could go through the holes in the chassis.
(The blue motors have metal gears. Over time we realised that pupils try to turn the wheels attached to the motors by hand and that damages the plastic gears. So we had metal chassis and motors with metal gears manufacture. You could get them from many suppliers your self too.)
If you do not want to use a Nvidia Jetson Orin Nano or a Raspberry Pi 5 running AI software and ROS2 then you need just one or two floors. The obstacle avoidance car may need two floors, the bottom one for the L298N motor diver module and the motors and the top floor for the ultrasonic sensor and the Raspberry Pi Pico.
Attach the motors. You could put hot glue on the motors if they do not already have it so that the solder joints do not become loose.
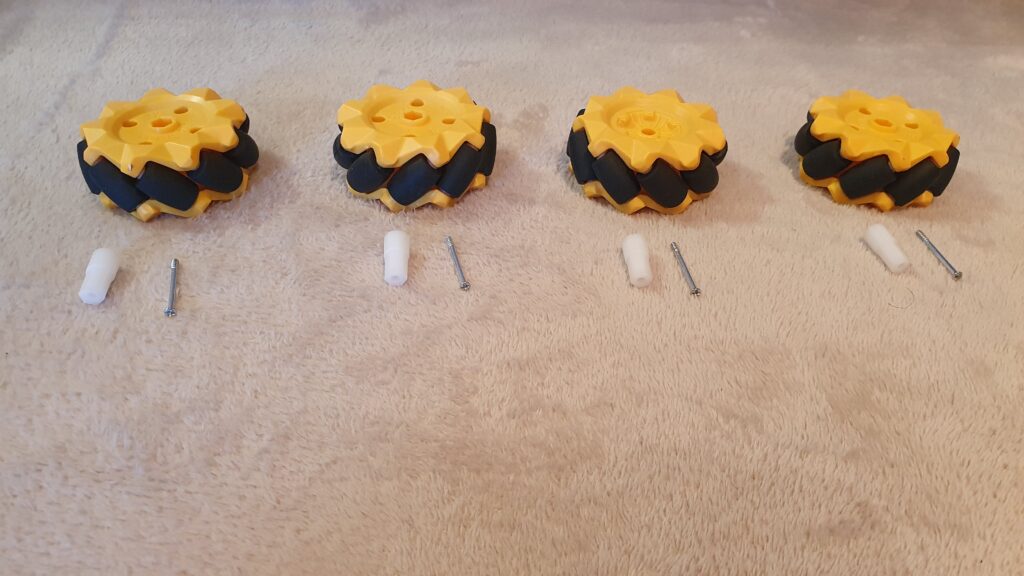
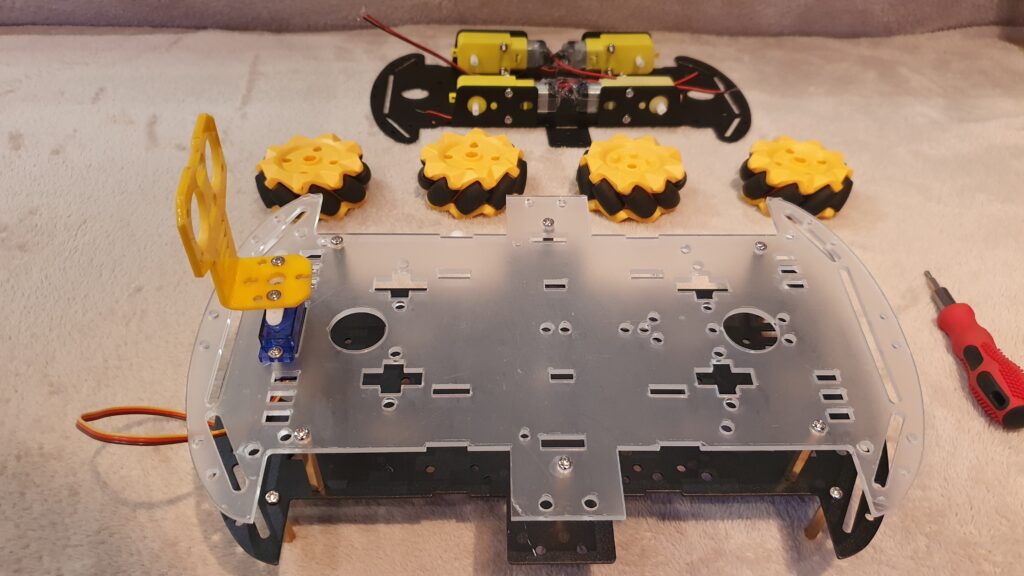
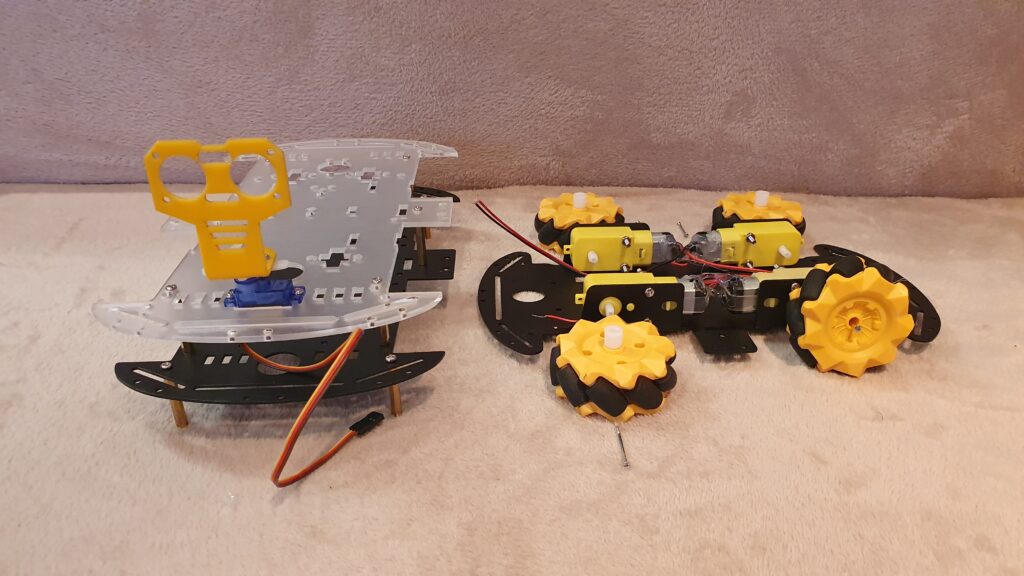
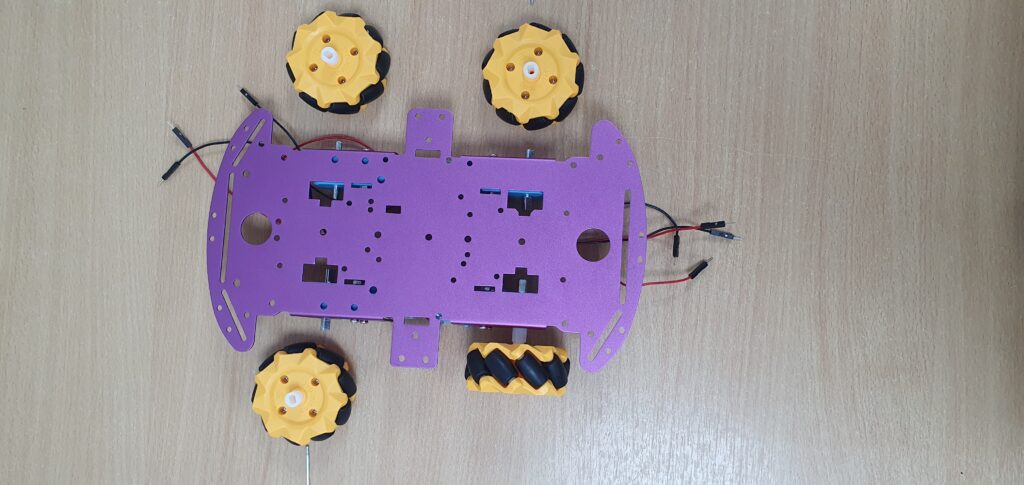
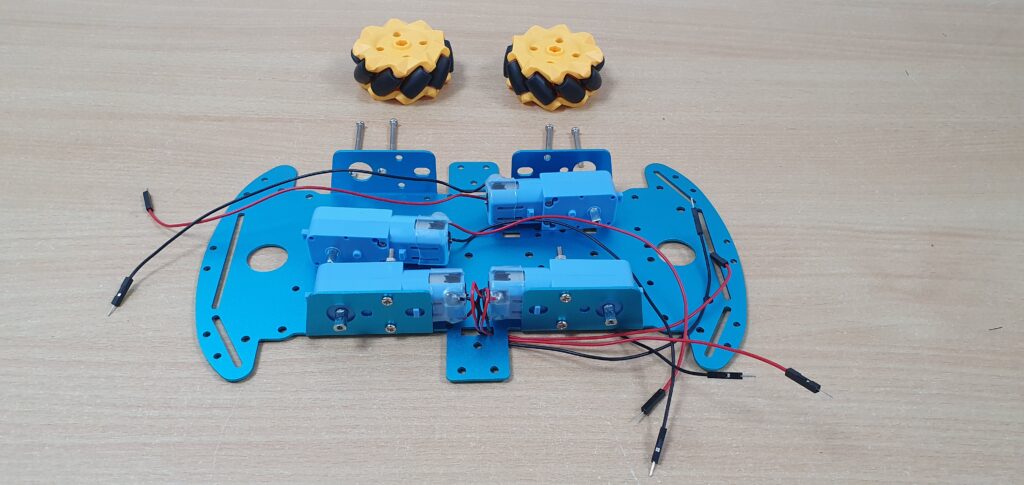
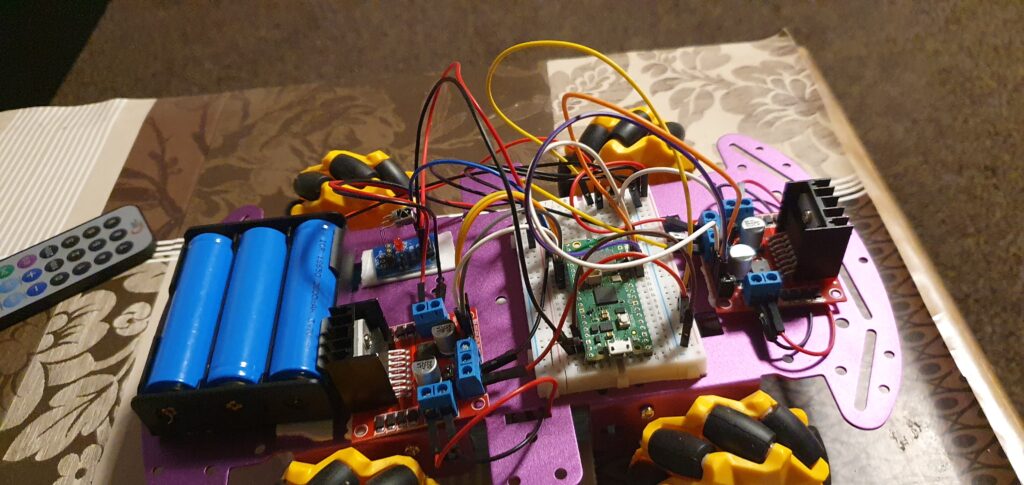
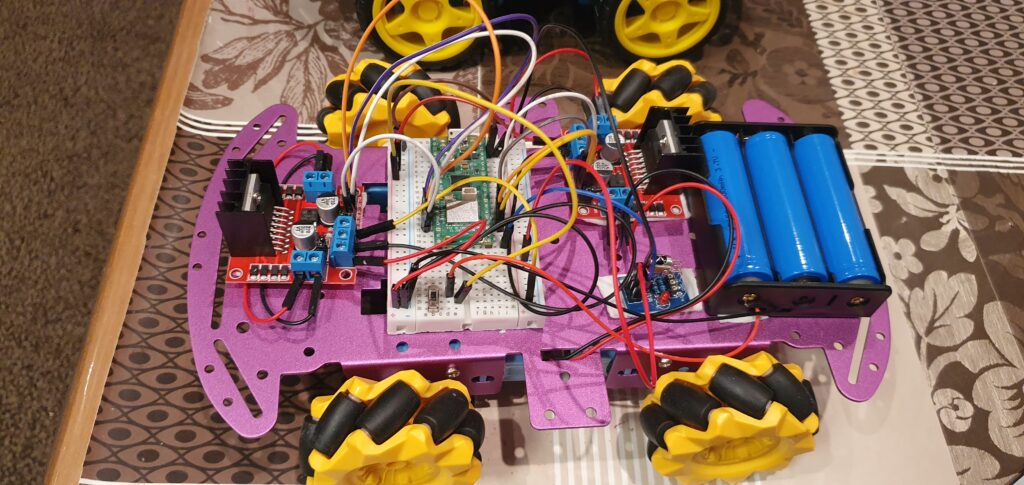
Prepare the mecanum wheels
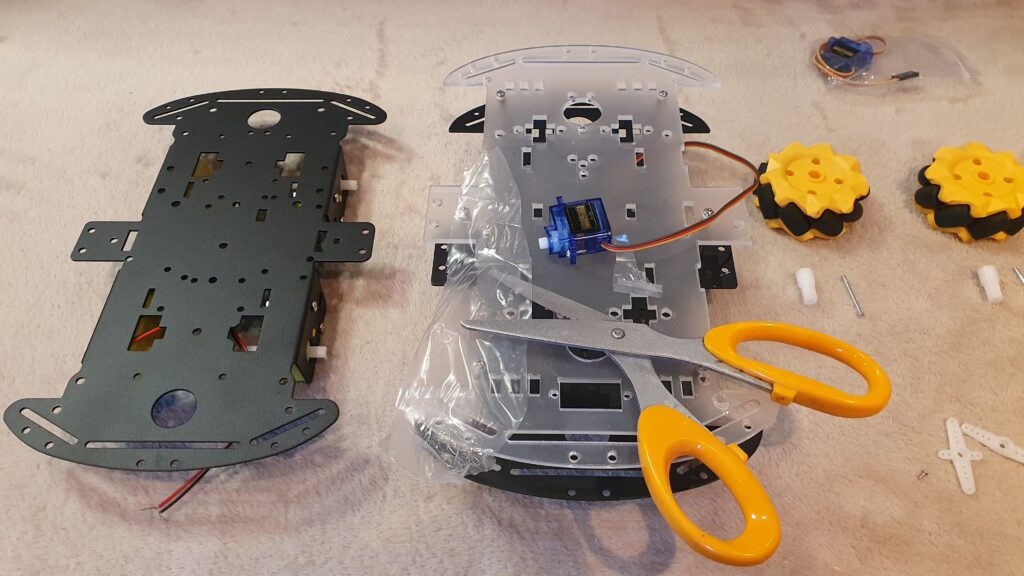
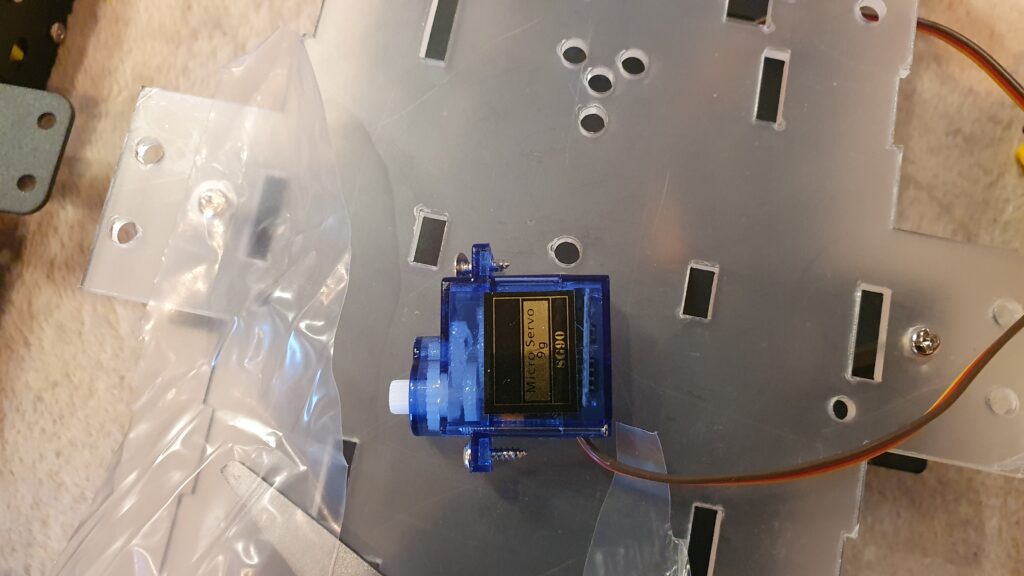
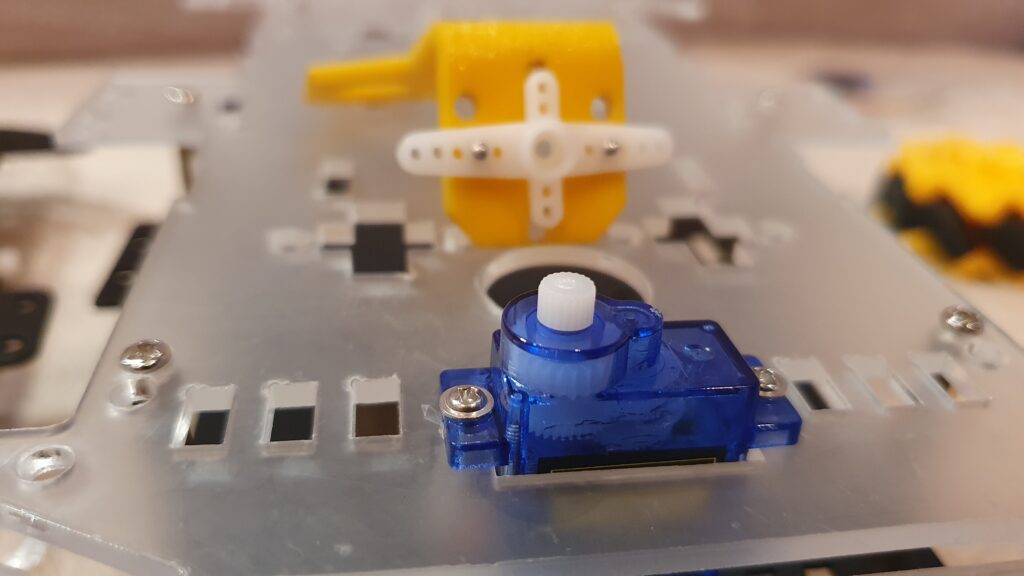
If you want to use the ultrasonic sensor then attach the servo for the ultrasonic sensor in the servo hole in the acrylic frame.
Screw in the servo
Make sure you use the right types of screw. If the hole is too big for the screw add a piece of a plastic bag to make it smaller and act like a plug for the screw.
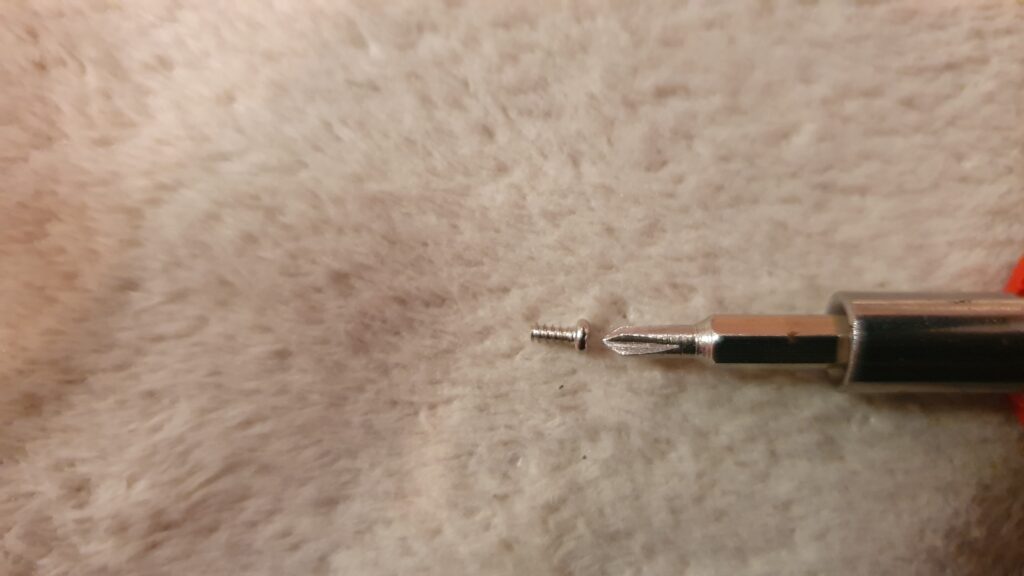
Use this screw to attach the head onto the servo.
Attach the head to the servo
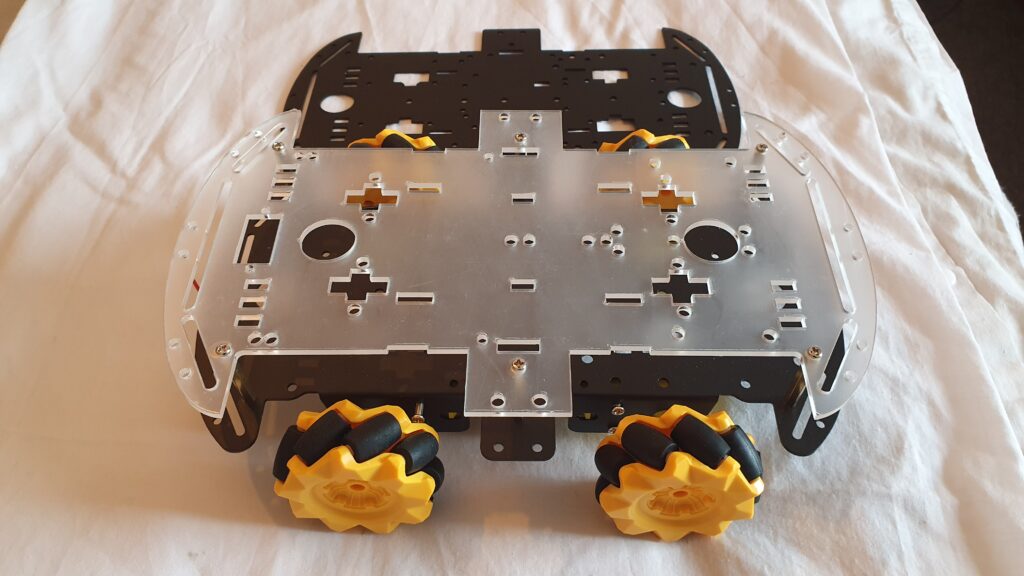
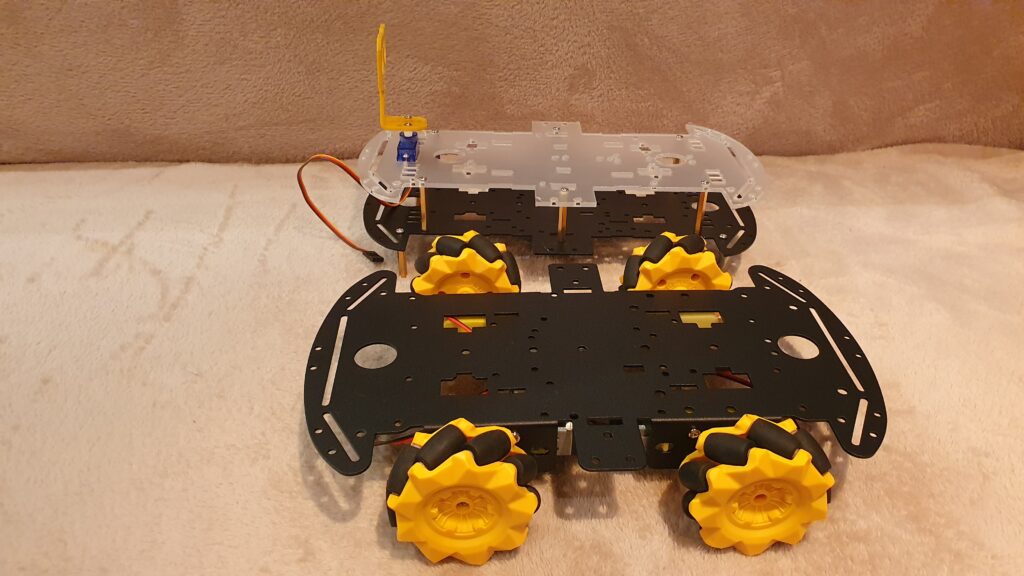
If you want to make a mecanum wheels car you just need one floor. If you want to make a untrasonic sensor obsticle avoidance car then you need two floors. If you later want to use a Nvidia Jetson Orin Nano or a Raspberry Pi 5 running AI software and ROS2 then you may need two or three floors later like this. But at first just build a simple pi pico car like below.
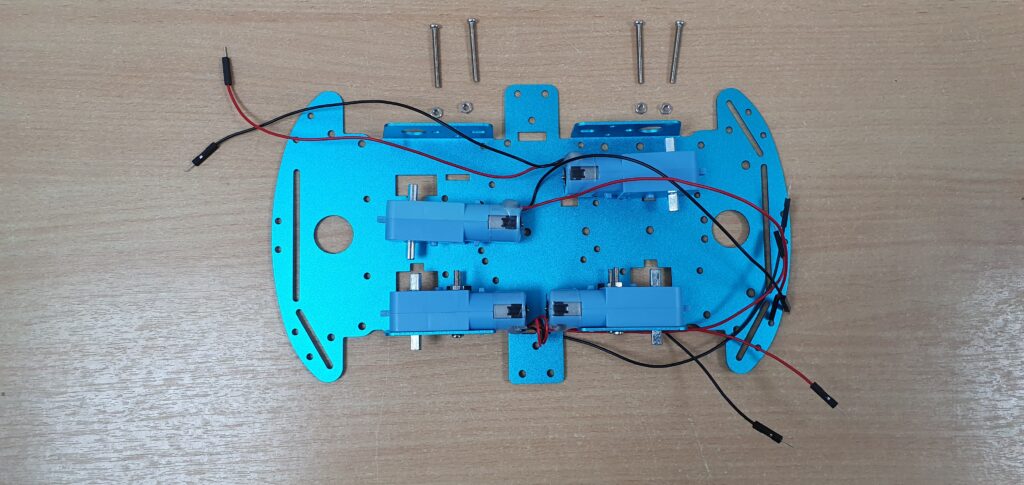
The wheels go on like this. But first keep the wheels off and test the motors using a battery and learn how motors work
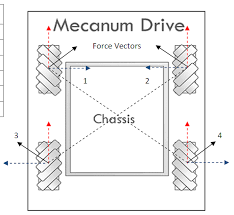
Make sure that the mecanum wheels go on the right way. When you look from the top, the small wheels on the mecanum wheels should form a cross in the middle of the car.
When you look from the top of the car, the small wheel on the mecanum wheels should form a cross in the middle of the car.
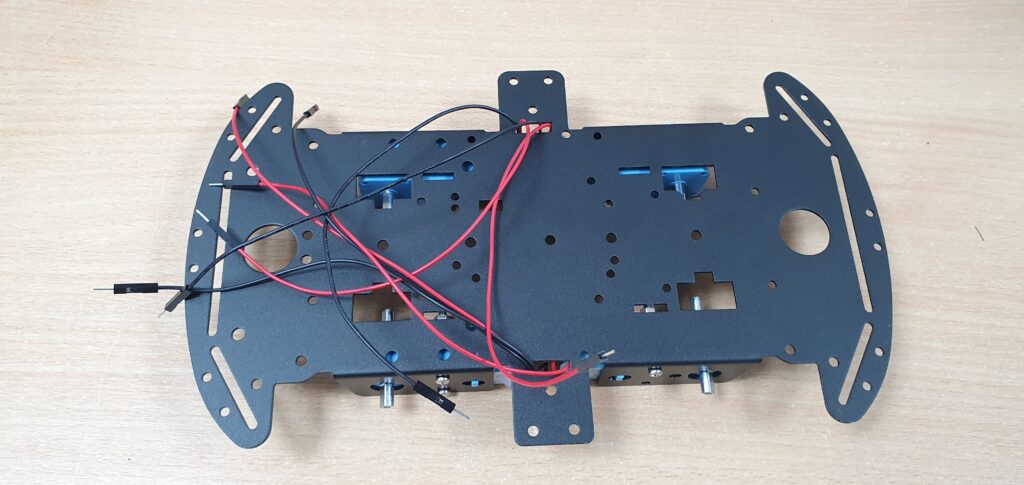
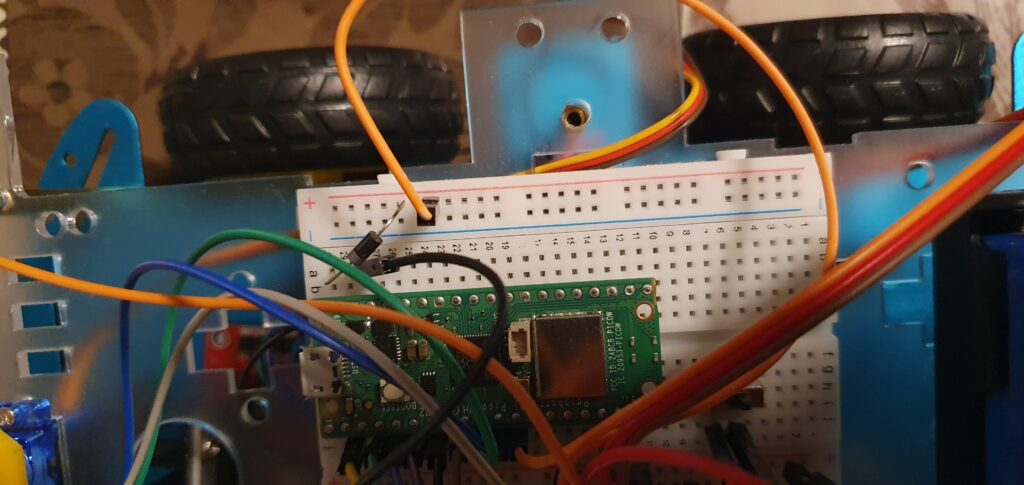
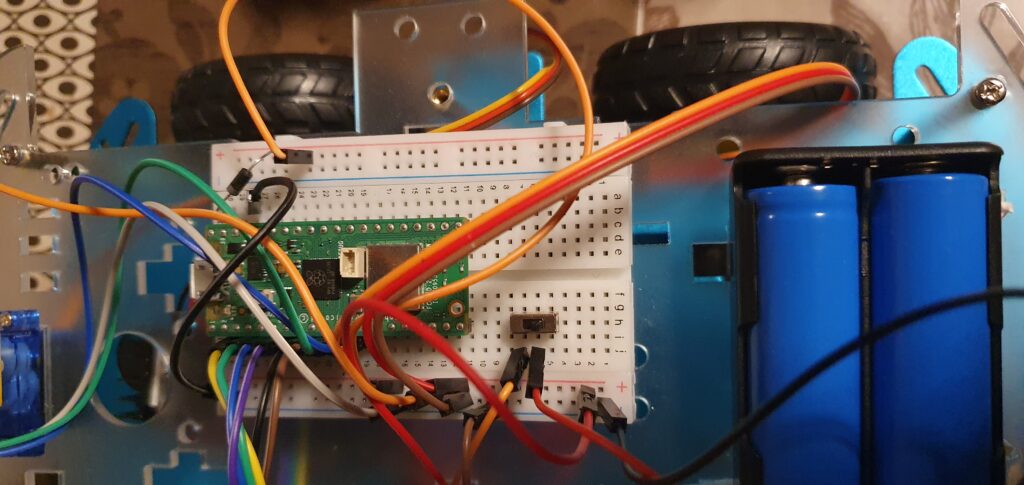
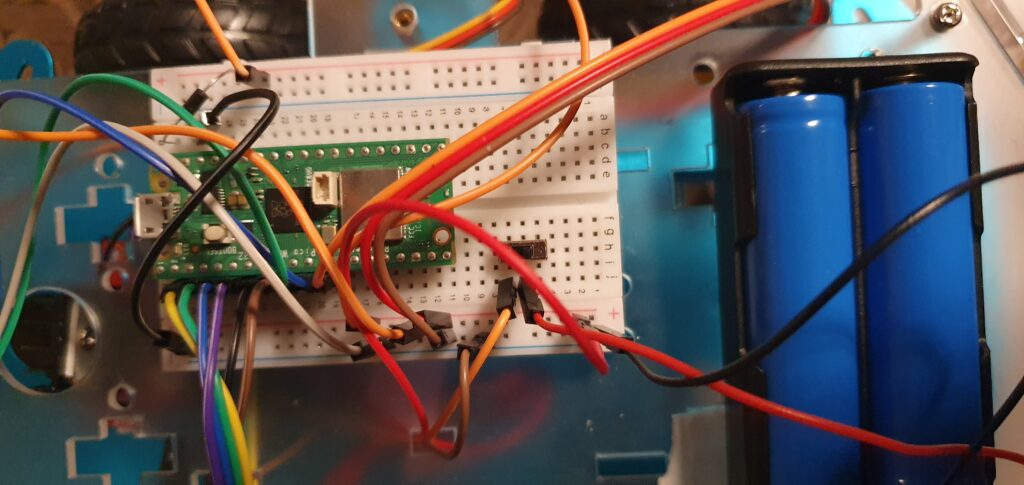
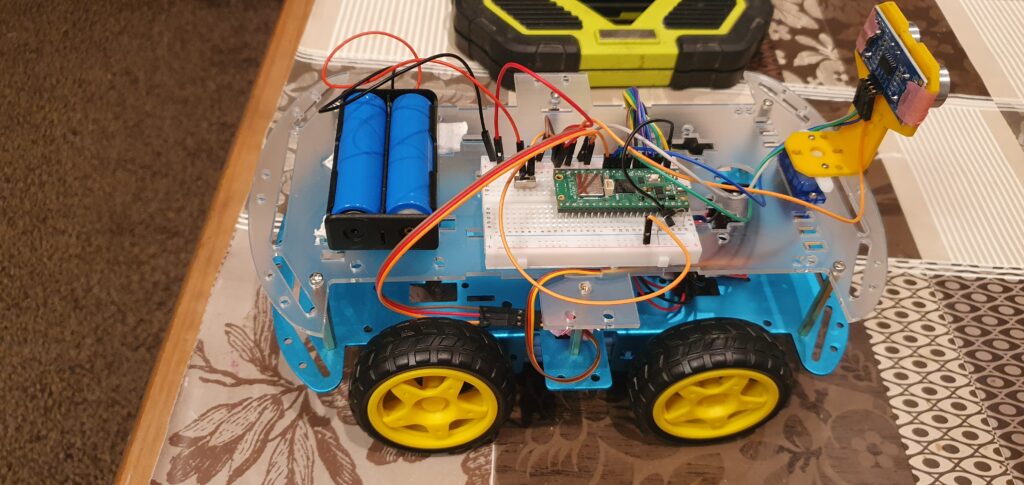
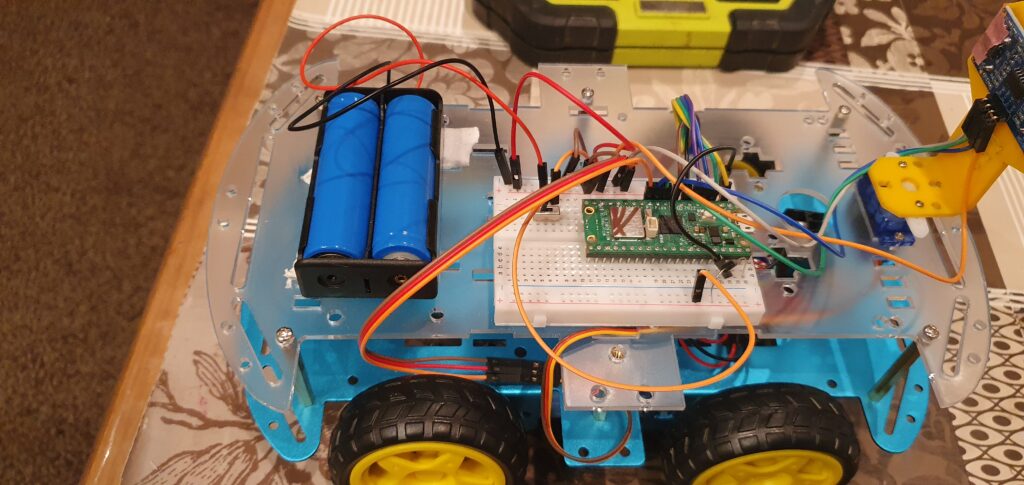
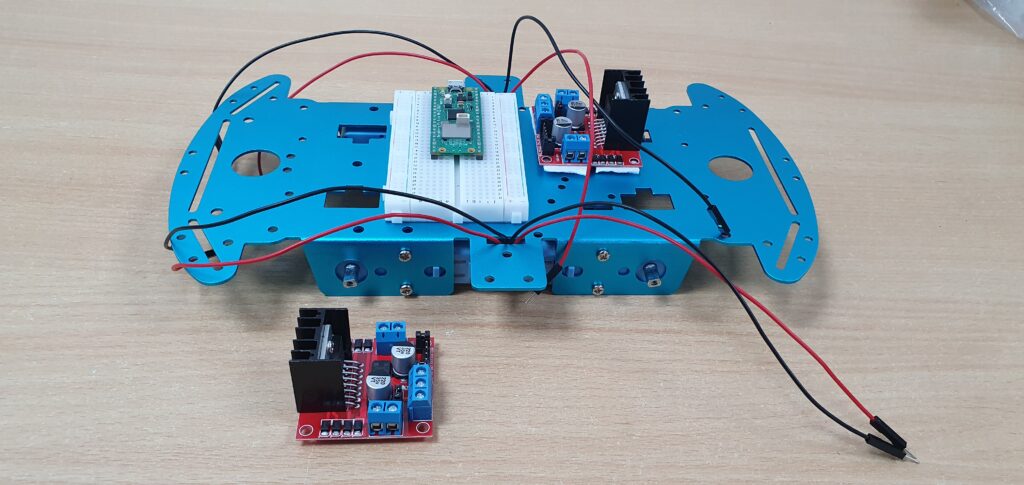
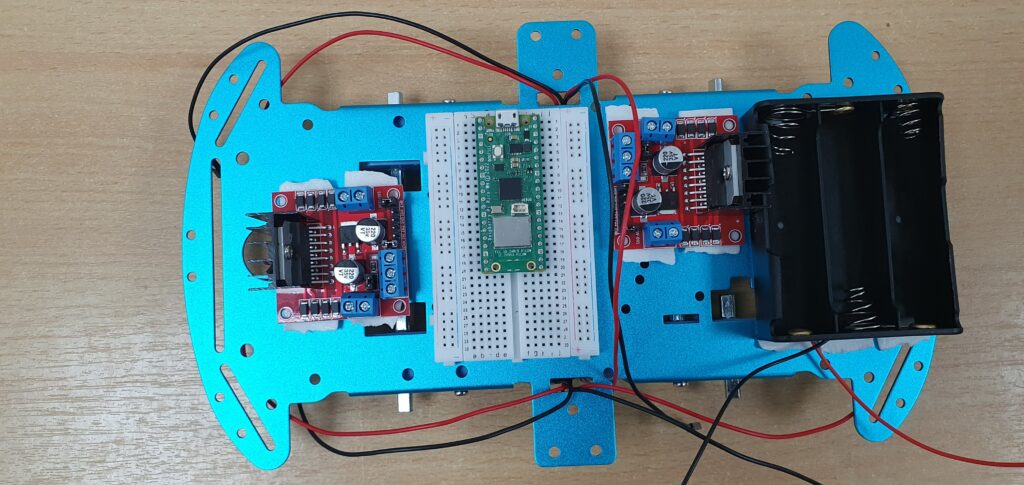
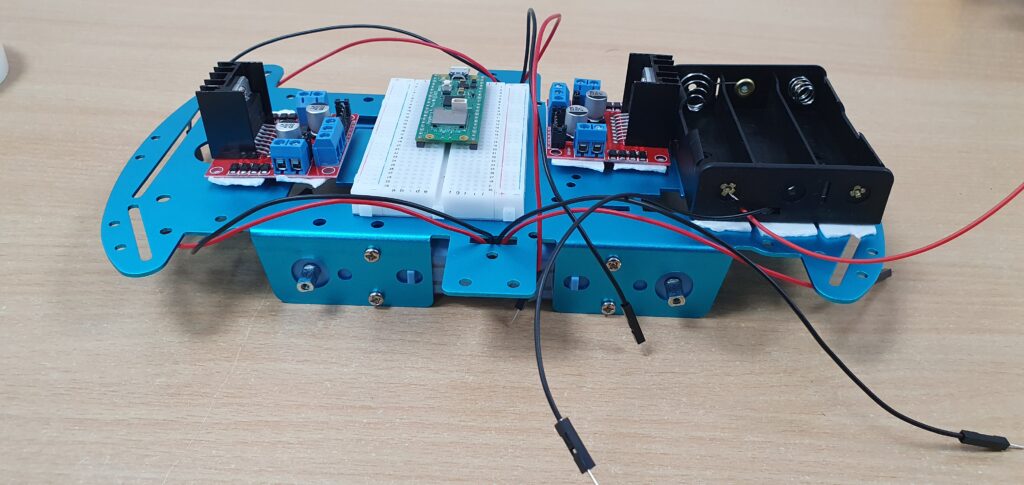
Attach the L298N motor driver modules and the Raspberry Pi Pico W as shown in the images below.
There is some code for mecanum wheels above in the github link, but it does not include speed control. Please also note that the wiring you see here may require some adjustment to work with the code,
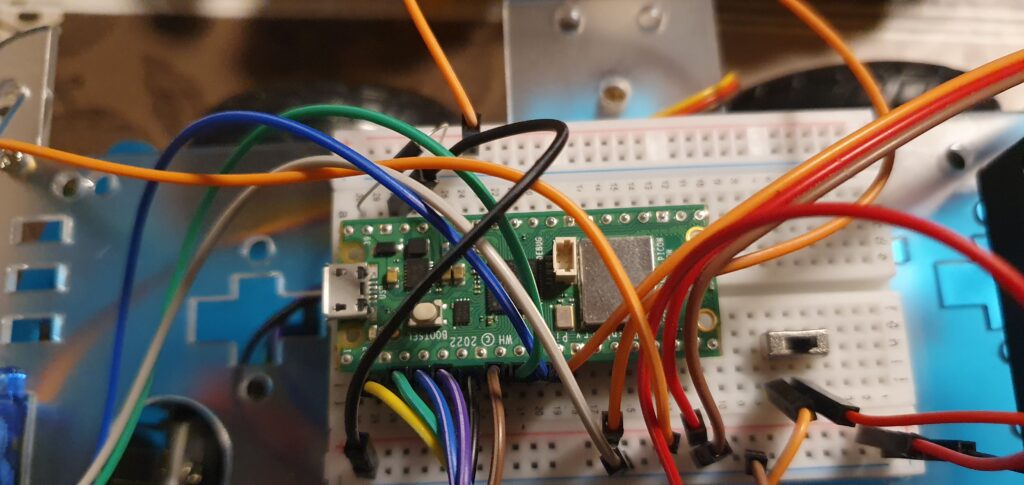
If the motors have the DuPont connectors then the motors could be tested with the batteries via a bread board too. First learn how the motors work and how the L298N motor driver modules work. Leave the wheels off at first to make sure that the motors are connected the right way round.
Make sure that the wheels are the right way around. But only put them on after learning all about the motors and playing around with them.
Make sure that the wheels are the right way around, like shown above and the wires could go through the holes.
We will be providing the wiring diagram for the obstacle avoidance car with an ultrasonic sensor and the code will be here https://github.com/gooficat/pico-car
If you use normal wheels then you only need one L298N motor driver modules if you use mecanum wheels you need two L298N motor driver modules.
We will be providing the wiring diagram for the obstacle avoidance car with an ultrasonic sensor and the code will be here https://github.com/gooficat/pico-car
We will be providing the wiring diagram for the obstacle avoidance car with an ultrasonic sensor and the code will be here https://github.com/gooficat/pico-car
We will be providing the wiring diagram for the obstacle avoidance car with an ultrasonic sensor and the code will be here https://github.com/gooficat/pico-car
We will be providing the wiring diagram for the obstacle avoidance car with an ultrasonic sensor and the code will be here https://github.com/gooficat/pico-car
We will be providing the wiring diagram for the obstacle avoidance car with an ultrasonic sensor and the code will be here https://github.com/gooficat/pico-car
We will be providing the wiring diagram for the obstacle avoidance car with an ultrasonic sensor and the code will be here https://github.com/gooficat/pico-car
We will be providing the wiring diagram for the obstacle avoidance car with an ultrasonic sensor and the code will be here https://github.com/gooficat/pico-car
We will be providing the wiring diagram for the obstacle avoidance car with an ultrasonic sensor and the code will be here https://github.com/gooficat/pico-car
We will be providing the wiring diagram for the obstacle avoidance car with an ultrasonic sensor and the code will be here https://github.com/gooficat/pico-car
We will be providing the wiring diagram for the obstacle avoidance car with an ultrasonic sensor and the code will be here https://github.com/gooficat/pico-car
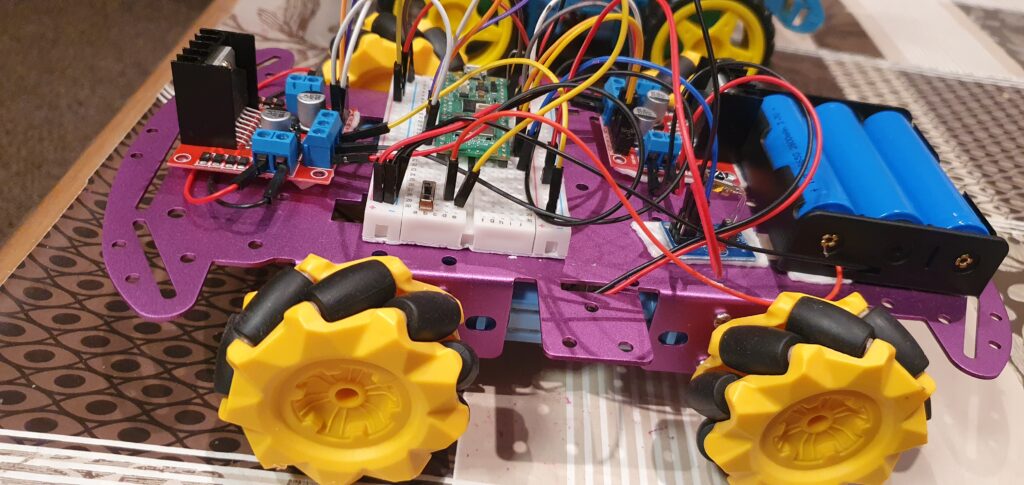
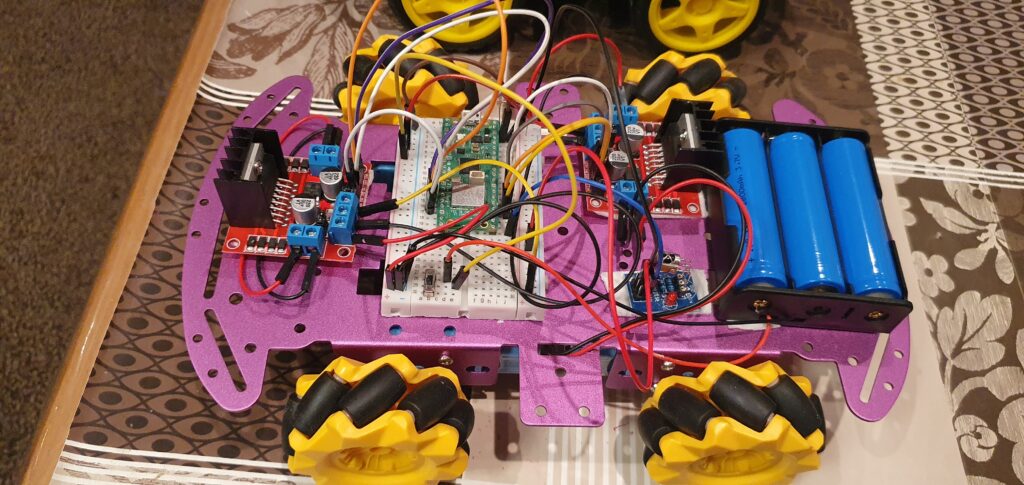
Mecanum wheel raspberry pi pico car
If you use mecanum wheels you need two L298N motor driver modules.
We will be providing the wiring diagram for the mecanum wheel raspberry pi pico car and the code will be here https://github.com/gooficat/pico-car
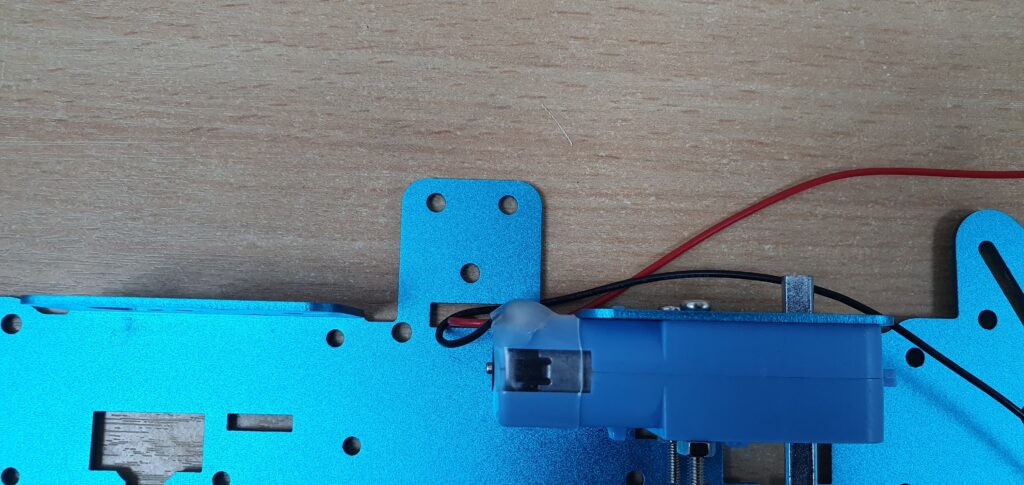
Make sure the wires could go through this hole
Make sure the wires are facing out when you screw in the motor
Use these long bolts with the motors
Keeps the wheels off until everything is working correctly
Attach the L298N motor controllers and the bread board with the Raspberry Pi Pico
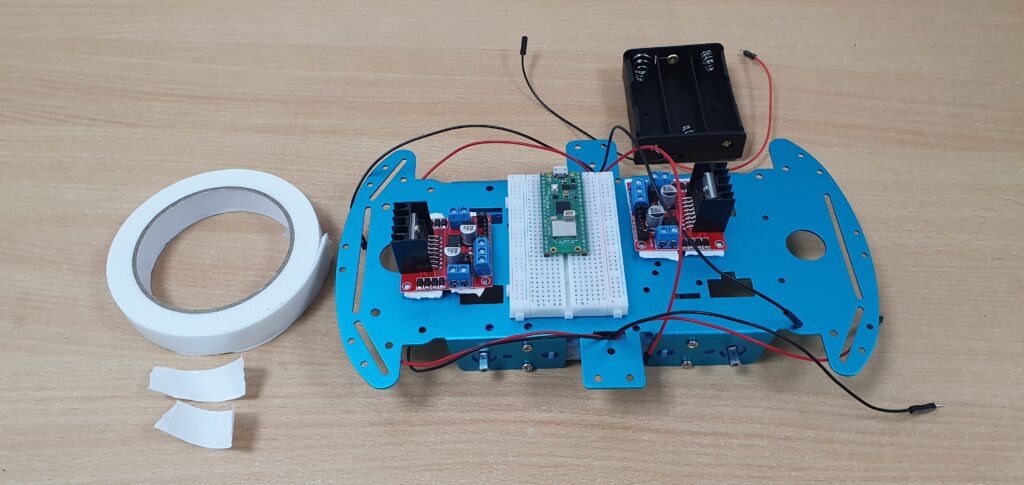
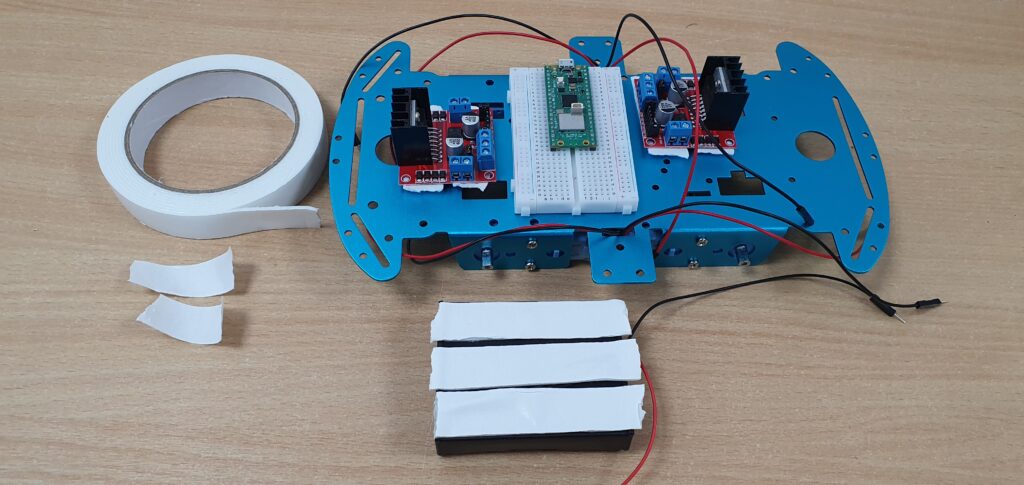
You could use double sides sticky tape
Attach the battery pack
Keep the components close so that the wires could reach the breadoard
We will be providing the wiring diagram for the mecanum wheel raspberry pi pico car and the code will be here https://github.com/gooficat/pico-car
We will be providing the wiring diagram for the mecanum wheel raspberry pi pico car and the code will be here https://github.com/gooficat/pico-car
We will be providing the wiring diagram for the mecanum wheel raspberry pi pico car and the code will be here https://github.com/gooficat/pico-car
We will be providing the wiring diagram for the mecanum wheel raspberry pi pico car and the code will be here https://github.com/gooficat/pico-car
We will be providing the wiring diagram for the mecanum wheel raspberry pi pico car and the code will be here https://github.com/gooficat/pico-car
We will be providing the wiring diagram for the mecanum wheel raspberry pi pico car and the code will be here https://github.com/gooficat/pico-car